AI Upscale Photos for Print: Enlarge Without Loss
Perfect photo, but too small. And enlarging it only makes it worse
It’s probably happened to everyone. You find the ideal image for your project, presentation, or to hang on a wall, but there’s a catch: the resolution is too low. When you try to enlarge the photo conventionally, instead of sharp details, you only get a blurry, “pixelated” mosaic.
Previously, this meant the end of the road and the need to find another image. But today, there’s a solution called AI upscaling. In this article, we’ll explain why this method is incomparably better than regular enlargement, and we’ll show you step-by-step how to save even the smallest image.
What AI upscaling actually does and why it’s not just ordinary enlargement
Classic image enlargement (interpolation) works simply – software stretches existing pixels over a larger area and averages the space between them. The result, unfortunately, is well-known: a blurry photo that looks like someone photographed it through frosted glass. Details are missing, edges are soft, and text becomes unreadable.
AI upscaling takes a completely different approach. Instead of crudely stretching pixels, it uses advanced neural networks that have been trained on millions of image pairs (in low and high resolution). The algorithm analyzes the content of the image and actively calculates new details that were not present in the original file at all. It recognizes that “this smudge” is actually a tree leaf or an eyelash – and regenerates it, sharp and in high resolution.
What AI upscaling in GuideGlare specifically offers
- 2× enlargement (2K) – Doubles the dimensions of the image. An ideal choice for web, e-shops, social media, and smaller prints (A5/A4 formats).
- 4× enlargement (4K) – Quadruples the dimensions. An absolute must for large-format printing, billboards, posters, or professional graphics.
- Composition preservation – The quality and pixel density change, but the shot and proportions remain absolutely identical.
- Texture reconstruction – Artificial intelligence can naturally reconstruct the structure of fabric, hair, or grass where there was previously only a merged color blob.
Upscaling doesn't "widen the shot": if you need more background, that's a different task
AI upscaling increases detail and pixel density, but it doesn't change the composition — it doesn't add borders or "more scene."
If you need to expand the canvas (e.g., turn a photo into a banner), you need the AI outpainting feature. Then use upscaling as the final step for sharpness.
When you really need AI photo resolution enhancement
Printing without compromise
Printers are unforgiving. For quality printing, you need source material at 300 DPI. However, a photo downloaded from the web or social media often has only 72 DPI and small dimensions – when printed on an A3 format, it would be hopelessly blurry. AI upscaling prepares the data to be perfectly sharp even on large paper.
300 DPI isn't magic: pixels, format, and distance are decisive
For printing, 300 DPI is often cited, but in practice, a combination of pixel count and print size is crucial.
- For photo books and "close-up" prints, aim for 300 DPI.
- For posters and large formats viewed from a distance, 150–200 DPI is often sufficient.
Quick guide (approx.):
- A4 @ 300 DPI ≈ 2480 × 3508 px
- A3 @ 300 DPI ≈ 3508 × 4961 px
Image with text: always check readability at 100% after upscaling
AI can add details brilliantly, but with text, minor distortions (diacritics, thin strokes) can sometimes appear.
After upscaling, do a quick check:
- open the preview at 100% zoom,
- check problematic areas (diacritics, O/0, S/5),
- and if necessary, fix minor issues locally via area redrawing.
Professional visuals for Retina and 4K displays
Today’s monitors and phones have extremely fine resolutions. A low-resolution image on them looks unprofessional, which is a particular problem for e-commerce or a design portfolio. An upscaled image looks crystal clear even on the most demanding screens.
E-shop and Retina displays: aim for a longer side of at least 2000–3000 px
For the web, it's often not worth "mindlessly" aiming for the maximum — it's important that the image looks sharp on modern displays.
Practical tip:
- for main product photos, a longer side of 2000–3000 px is often sufficient,
- for "hero" banners and large visuals, it makes sense to go higher.
Saving the family archive
Do you have precious photos from early digital cameras or scanned paper photos with low resolution? These memories deserve modern quality. Upscaling will restore their sharpness, remove digital noise, and allow them to be printed into a large album. If the photos are also damaged or black and white, read our guide to AI photo repair and colorization.
Old and highly compressed photos: clean first, then upscale
Archival images often have typical "squares" from compression (JPEG artifacts). If you enlarge them directly, they will only be emphasized.
The most reliable procedure:
- clean compression/noise,
- locally repair defects,
- perform final AI upscaling.
Complete photo rescue is followed by AI photo restoration.
Production quality for AI-generated works
Most popular AI generators produce outputs at around 1024×1024 px resolution. This is sufficient for Instagram, but for a T-shirt print, book cover, or large poster, it’s simply not enough. Upscaling is therefore an essential final step in any professional AI workflow.
Tutorial: How to increase photo resolution using AI step by step
In GuideGlare, you have two approaches available. Choose the one that best matches the condition of your source image.
Method 1: Quick upscaling (for photos in good condition)
If your image is technically fine – meaning it’s not noisy or blurry, it’s just small – this simple procedure is sufficient.
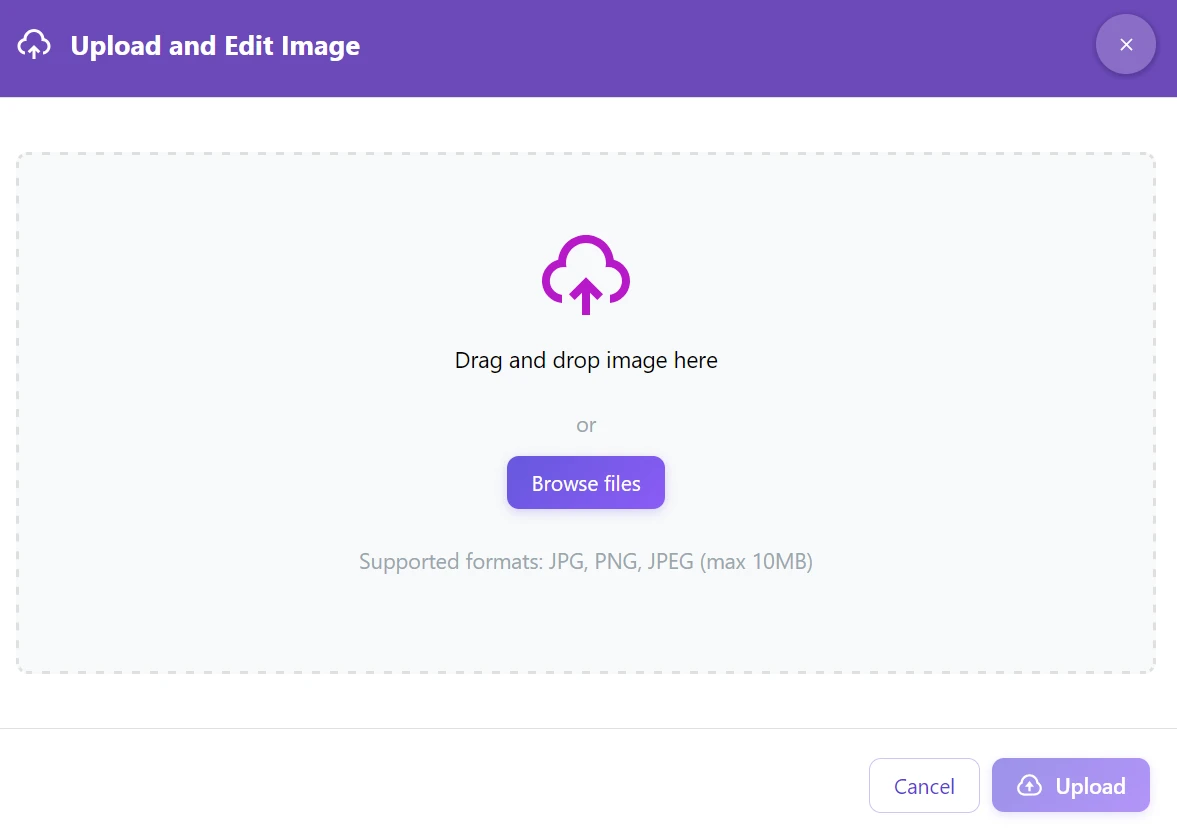
Step 1: Upload the photo to the GuideGlare AI editor. We support JPG and PNG formats up to 10 MB in size.
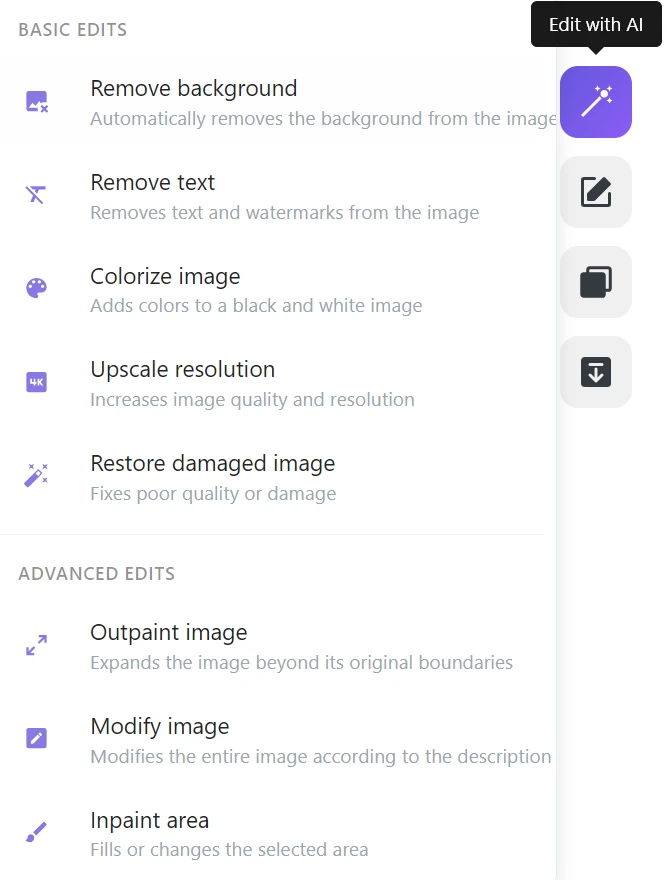
Step 2: In the right menu, click on “Edit with AI” → “Upscale resolution”.
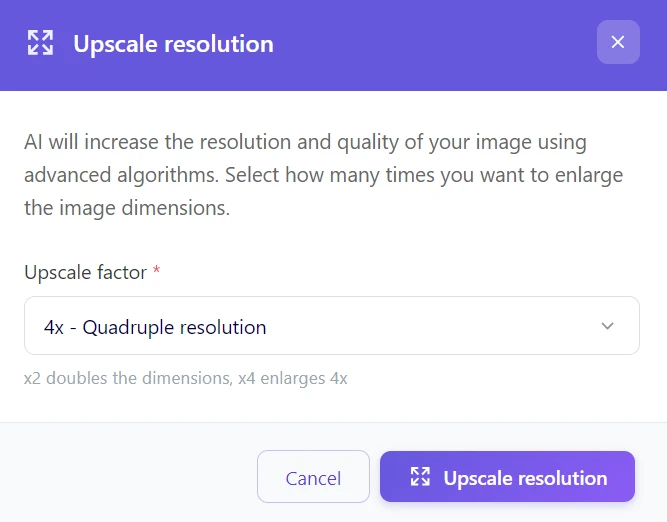
Step 3: Choose the enlargement factor – 2× for general web use, 4× for maximum quality and printing.
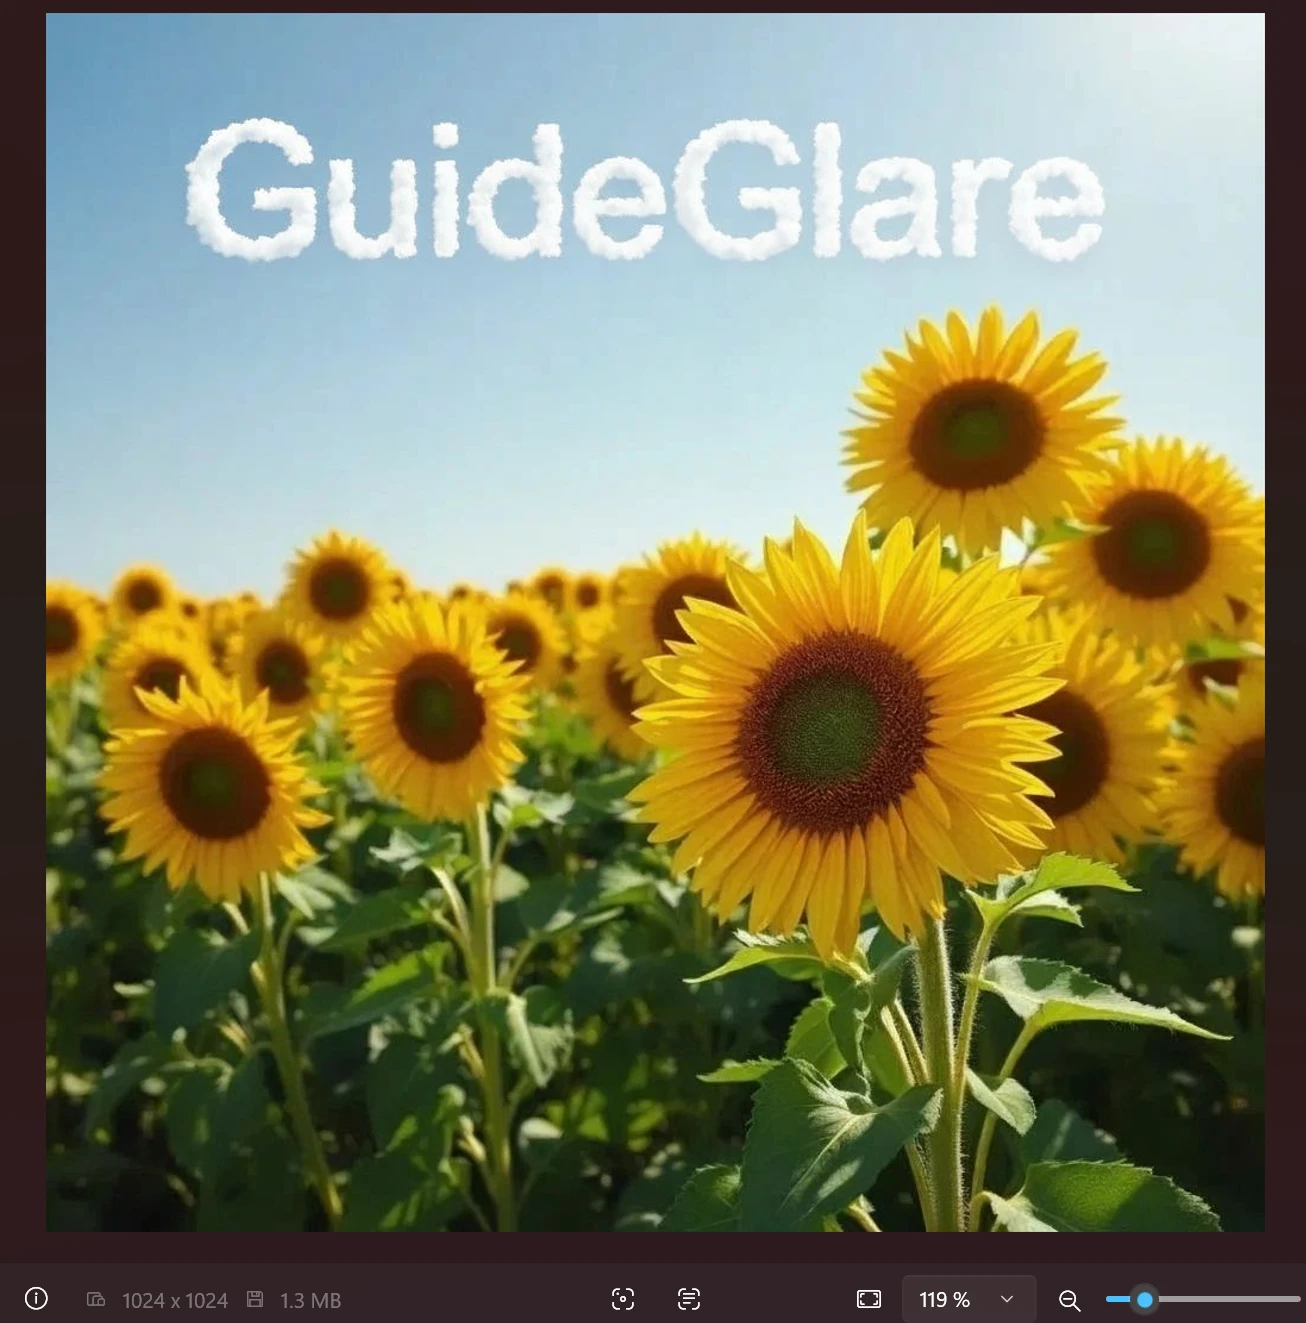
Step 4: Wait 15–30 seconds, check the generated preview, and download the result.
Beware of compression: for printing, PNG or high-quality JPG often wins
After upscaling, aggressive compression can create visible "maps" and blocks, especially in subtle transitions.
- For graphics, text, and logos, prefer PNG (fewer artifacts).
- For photos, JPG is OK, but maintain high quality — compression can unnecessarily kill details.
Method 2: Repair + upscaling (for damaged or low-quality photos)
If the input image is blurry, heavily noisy, or dark, direct upscaling would only enlarge and emphasize these flaws. In such cases, we recommend a two-phase approach.
Step 1: Quality Repair
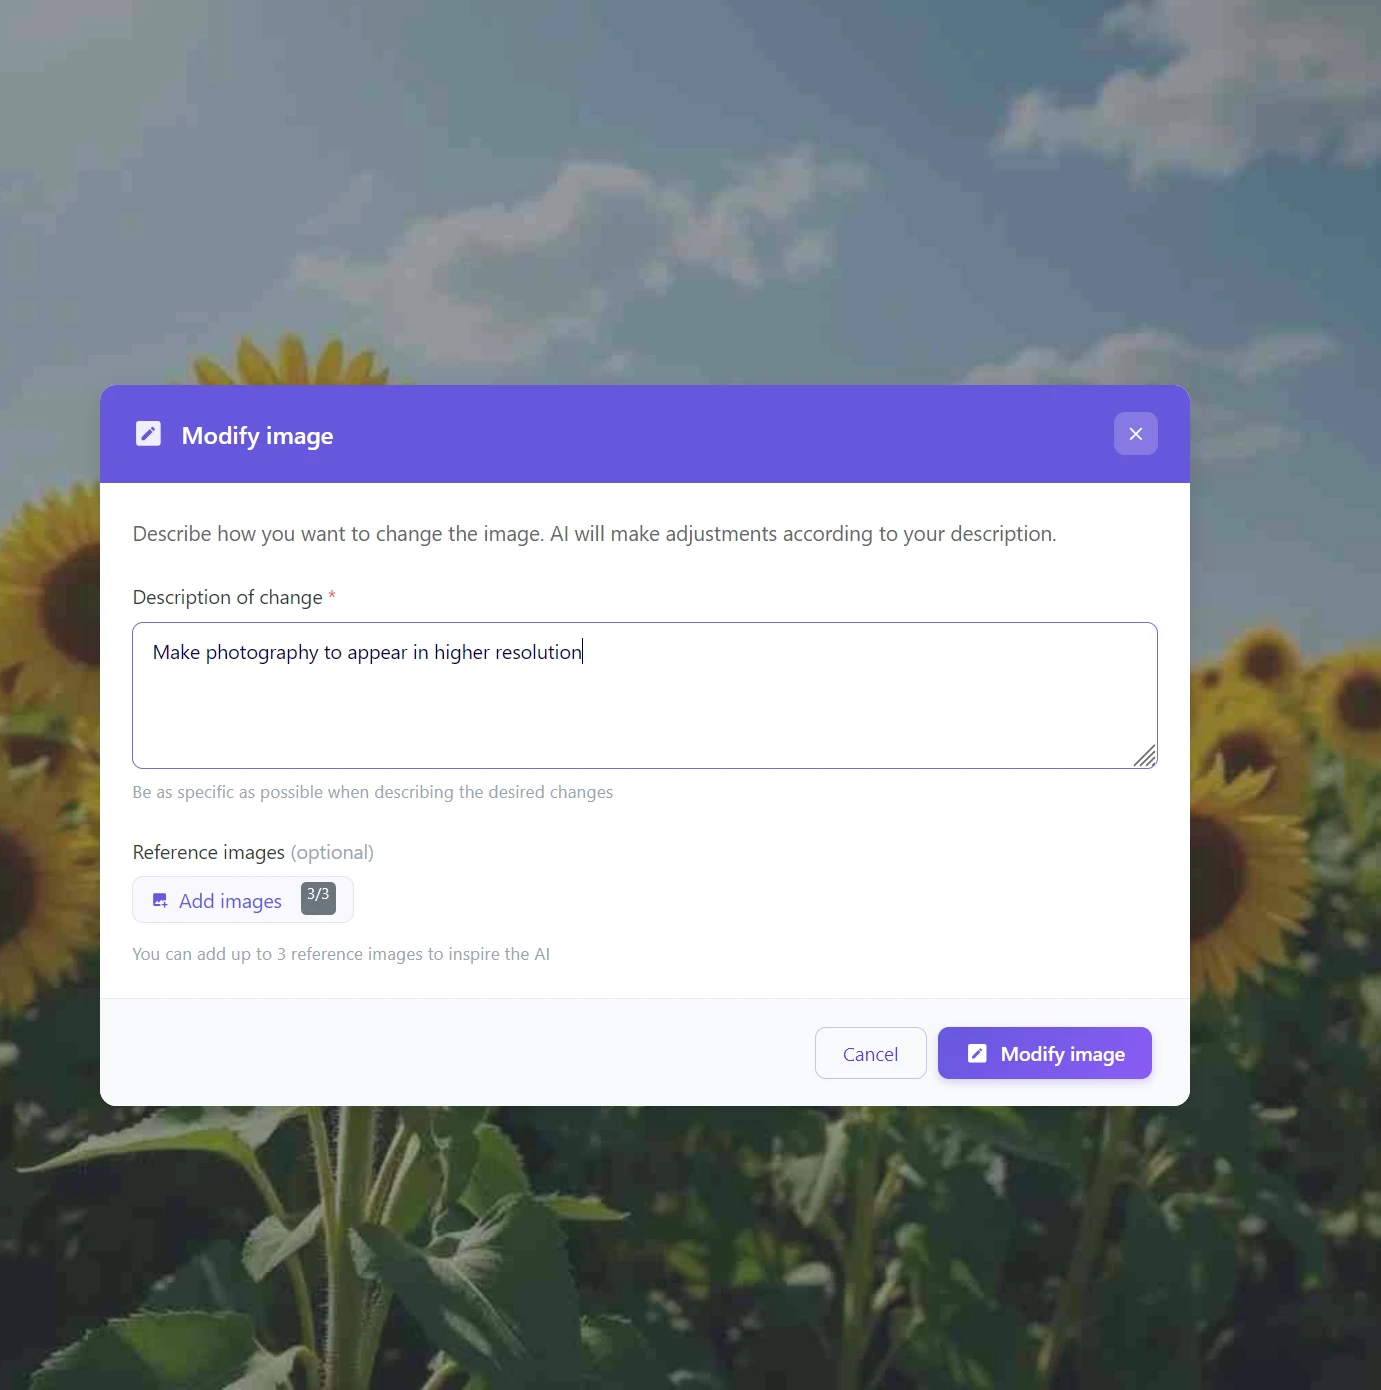
Upload the image and select “Edit with AI” → “Modify image”. In the text field, provide instructions for the artificial intelligence on what exactly to improve.
Examples of prompts that work great:
- “Improve sharpness, remove noise, and balance colors”
- “Fix face blur and add skin details”
Portraits and skin: repair them first, then enlarge
With faces, upscaling is "merciless" — if the input is blurry or noisy, it will magnify these flaws and the skin can look plastic.
Recommendation:
- first remove noise and improve sharpness (even via "Modify image"),
- then perform 4× upscale,
- and fine-tune any minor details locally.
Step 2: Local adjustments (optional)
Do you still see a minor flaw after editing? Use the “Redraw area” (AI Inpainting) feature. Mark the problematic spot with a brush and describe how it should look – the AI will naturally replace or repair it.
Repair hair and fine textures locally before upscaling
With hair, beards, and fine structures (grass, knitwear), AI can create "merged" strands or unnatural patterns during enlargement.
By repairing critical areas via area redrawing before upscaling, you get more credible detail and a more natural texture.
Step 3: Final enlargement
Only now, when the basic image is clean and flawless, apply the “Upscale resolution” feature (ideally 4×).
Why does this procedure work better? AI upscaling acts like a very powerful magnifying glass. The higher the quality of the image you put under this magnifying glass, the more precise and natural the details that artificial intelligence calculates during enlargement will be.
Best workflow: repair → upscale → sharpen (not the other way around)
Sharpening before enlargement is a common mistake — AI will then magnify halo effects and minor artifacts around edges.
Correct procedure:
- first clean (noise, blur, compression),
- then perform AI upscaling,
- and only at the end add subtle sharpening according to the target (web vs print).
Comparison: AI upscaling vs. traditional enlargement
| Criterion | Classic enlargement (resampling) | AI upscaling in GuideGlare |
|---|---|---|
| Resulting sharpness | Blurry edges, pixelation | Reconstructed, sharp details |
| Time consumption | Instantly (but low quality) | 15–30 seconds |
| Texture details | Lost, flattened | Actively calculated and restored |
| Suitability for print | Unsuitable for formats larger than A4 | Perfectly prepared for large format |
| Cost | Free (in any editor) | Part of Basic plan |
If it looks "too sharp," try 2× instead of 4× or clean the input first
Sometimes AI creates unnatural microtextures (grass like bristles, skin like wax). This is a sign that the input is too low quality or the upscale is too aggressive.
What works:
- try 2× first and compare the result,
- perform pre-upscale denoising / compression repair,
- fix problematic areas locally via AI inpainting.
The goal is natural detail, not "over-generated" texture.
Save your photos and prepare them for printing today
Low resolution no longer means a photo has to go in the trash. With AI photo editing in GuideGlare, you get the absolute maximum from every image – whether it’s a precious family photograph, a fantastic visual from Midjourney, or a product photo for your e-shop.
Say goodbye to pixelated images
Low resolution is no longer the end. Transform small and blurry photos into razor-sharp visuals that will shine on any display and in print.
In a few seconds, without complex edits or technical knowledge.
Frequently asked questions about AI upscaling
Is AI upscaling free?
To use advanced AI tools in GuideGlare, such as upscaling, an active subscription, for example, a Basic plan, is required. Unlike simple “resize” functions in free editors that merely mechanically stretch pixels, our AI actively generates new details. This process is computationally extremely intensive and requires top-tier AI models.
So you’re not paying for mere enlargement, but for technology that intelligently reconstructs a perfectly sharp and usable image from a blurry base.
What image formats can I enlarge?
The tool currently supports the most common formats – JPG, JPEG, and PNG. The maximum upload file size is 10 MB. This means you can easily process photos from digital cameras, mobile phones, scanned materials, and images downloaded from the internet.
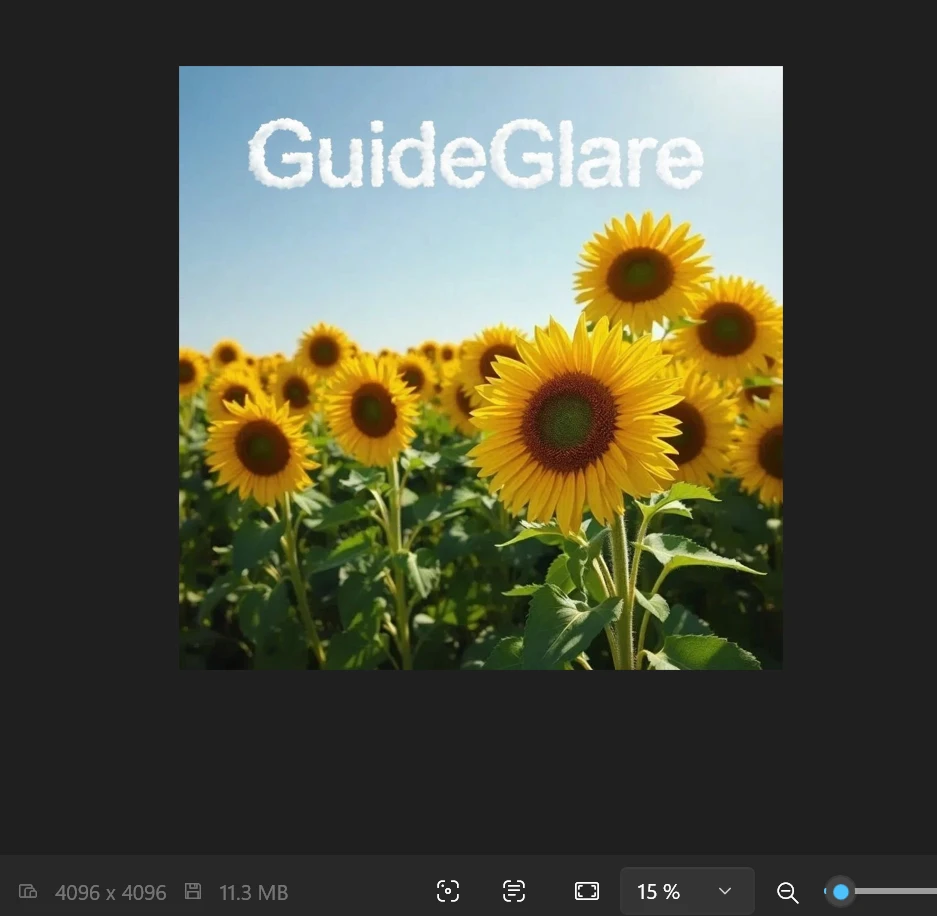
How large will the file be after 4× enlargement?
Expect the resulting file to be significantly larger – and that’s the purpose. An image that originally had a size of 1 MB can reach 10–15 MB after 4× upscaling. AI doesn’t add “empty space,” but generates millions of new pixels full of image information. This data density is crucial for achieving professional print quality of 300 DPI.
Does it work on AI-generated images from Midjourney or DALL-E?
Yes, in fact, it’s one of the most important steps in the entire AI art creation process. Most generators produce images at around 1024×1024 px resolution, which is completely insufficient for printing or professional deployment. AI upscaling is thus an essential final step that transforms a digital concept into a full-fledged work ready for a poster, book cover, or textile print.
Why do you recommend repairing a photo first and then enlarging it?
Imagine AI upscaling as a very powerful magnifying glass – it magnifies everything you put under it, unfortunately including flaws. If the original photo is noisy, blurry, or too dark, upscaling will visually emphasize these problems. When you first “clean” the base using the Modify image with AI feature, you give artificial intelligence much higher quality material to work with. The resulting enlarged image will then be dramatically cleaner and more believable.
What is the practical difference between 2× and 4× enlargement?
The choice depends purely on your goal. 2× enlargement is perfect for digital use – enhancing photos for websites, e-shops, social media, or optimizing for Retina displays. 4× enlargement is intended for print and professional graphics. Always choose it when you plan to print a photo on A4 format and larger, on a poster, billboard, or when you need the maximum possible quality for your graphic portfolio.
Can AI save even very small or old photos?
Yes, but with certain physical limitations. For very small images (e.g., a 100×100 px icon) or photos where details are irretrievably lost (faces are just solid color blobs), AI has to “guess” a lot. The result will be sharper, but may not be 100% true to the original reality. Conversely, for photos from early digital cameras (with resolutions like 1600×1200 px), the results are absolutely fascinating – AI can extract sharpness and details from these images that you didn’t even know were there.